The three-coordinate measurement has high accuracy and is suitable for measuring high-tolerance machined parts and small and medium-sized parts. CMM can measure various features. However, because it is a single-point measurement method, it has strict requirements on the surface characteristics of the workpiece. It is difficult and time-consuming to detect special-shaped parts and large parts.

Solve the problems of traditional measurement
Measurement by contact, point and line
Measuring instruments that measure point by point contact cannot observe the continuous unevenness of the entire sample. It is difficult to measure free-form surfaces and measurement targets made of soft materials.
Slow and cannot easily perform full-size inspection
For setting and positioning, not only do you need to adjust the probe and focus, but you also need to fix it with a clamp and other preparations. Choose different fixtures according to different measurement targets. Surveyors are required to have strong professional knowledge.
Entire product cannot be compared
Performing CAD comparisons is time-consuming and labor-intensive. In addition, in terms of good product judgment, it is only possible to judge whether a good product is a good product based on the measurement results (tolerance), and it is not possible to distinguish between good and defective products through shape comparison.
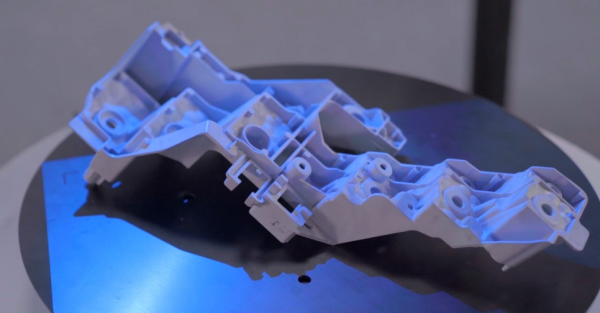
The Honor3d series metrological-grade blue-ray 3D scanner is excellent in scanning accuracy and details. It is composed of a raster projection device and two industrial-grade CCD cameras. It projects the raster onto the surface of the object to be measured, and adds changes in thickness and thickness. Through point cloud splicing and data optimization, the 3D appearance of the object under test can be known through point cloud splicing and data optimization.
Non-contact, 360-degree scanning
Acquire millions or even tens of millions of points of topographic data in a single frame. The scanning turntable rotates 360° to obtain real 3D data in the entire circumference without any blind spots.
Fast and easy for anyone to operate
The scanning time of a single frame is less than 1 second, and millions of points can be acquired per second. After placing the sample, just click the measurement execution button on the screen to automatically scan with the scanning turntable. Anyone can operate it easily
Visually compare overall
Using metrology-grade blue light 3D scanners, anyone can easily compare entire products. With an intuitive interface and overall shape and color display that compares difference values, it is also possible to easily compare design data during trial production and good and defective products during inspection.